Wednesday 26 May 2010

More Textures


Here is another texture that will be used in my animation and this texture shall be used for the floor, above i have two images that are the same but one is in colour and the other is not, the reason being is if i already have the colour texture in place where i want it and it gives off the impression of it being carpet on the floor but it still looks rather flat in some angles then i will need to give it something that is called a bump texture and this tool gives the image abit more life and gives off more of a 3d effect. To do this i would need a black and white verson of the image that is already down and add this image to the bump effect and it should give off a better 3d effect.

Textures

wooden texture: used for tables and the bookcase

Blue plastic texture: used for the slides

Black leather texture: used for the sofa

Door texture

Here are some of the images that i will be using in my final animation which will be used for textures, to give a more realist effect.

Tuesday 25 May 2010

Basic Modeling 2

Image 6

Image 5

After doing the same to all of the different object it was starting to take shape and form

Image 3

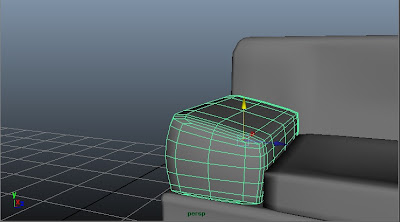
After sulpting the object the best i could i was then able to add more polygons, doing so then made the object to become more smoother and have a more natural look to it and that helps me to accomplish what i was after.
Image 2

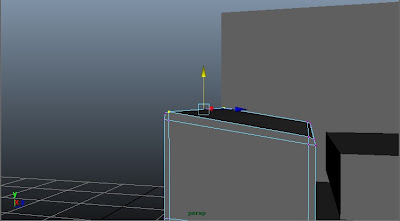
In order for me to be able to sculpt i'm going to have to more the polygons around, which are all those purple dots on the object. To start off i need the object to have as few polygons as possible, this is so that the memory doesn't get to be and that can lead to rendering problems.

Image 1

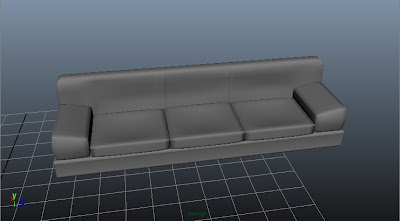
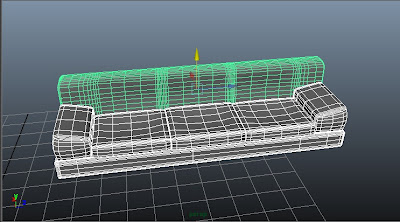
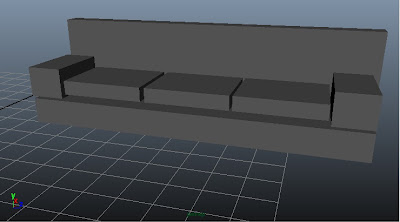
More modeling, here i've created a basic shape of a sofa and its not going to be as easily made as the table. Its goin to need a lot of sculpting and reshaping in order for it to look right.

Basic Modeling

Image 4

Here is the finished object it maybe a little hard to see but i did give it an a wooden texture to the different objects to make it look more like an actual table.
Image 3

Now i'm going to add some texture to the object and to do so all you have to do is hold the right mouse buttom and scroll down to assign new material and click on lambert, lambert allows you to add texture to the selected object, you can either use the textures within maya or you can add file of a texture i.e an image and place that onto the object.

Image 2

The second image is all of the shapes placed together and as you can see there have created table.

Image 1

I'm just getting started on how to use maya so i'm starting with some basic modeling, as you can see i'm creating a table out of polygons and instead of just making a table top with four legs , i disided to go for a more modern design with pattern.

Thursday 13 May 2010

Video References

References have not been my strong point throughout this year, so it's a good idea for me to give it my all for this final project of the year. Rube Goldberg is well known for his inventions that performs a very simple tasks in a very complex fashion, which create a chain reaction a domino effect, here is a couple of examples of this.

Wallace and Gromit - The tellyscope


Chain Reactions


Chain reaction with fire Contraption


Ok Go- This too shall pass-Rube Goldberg